
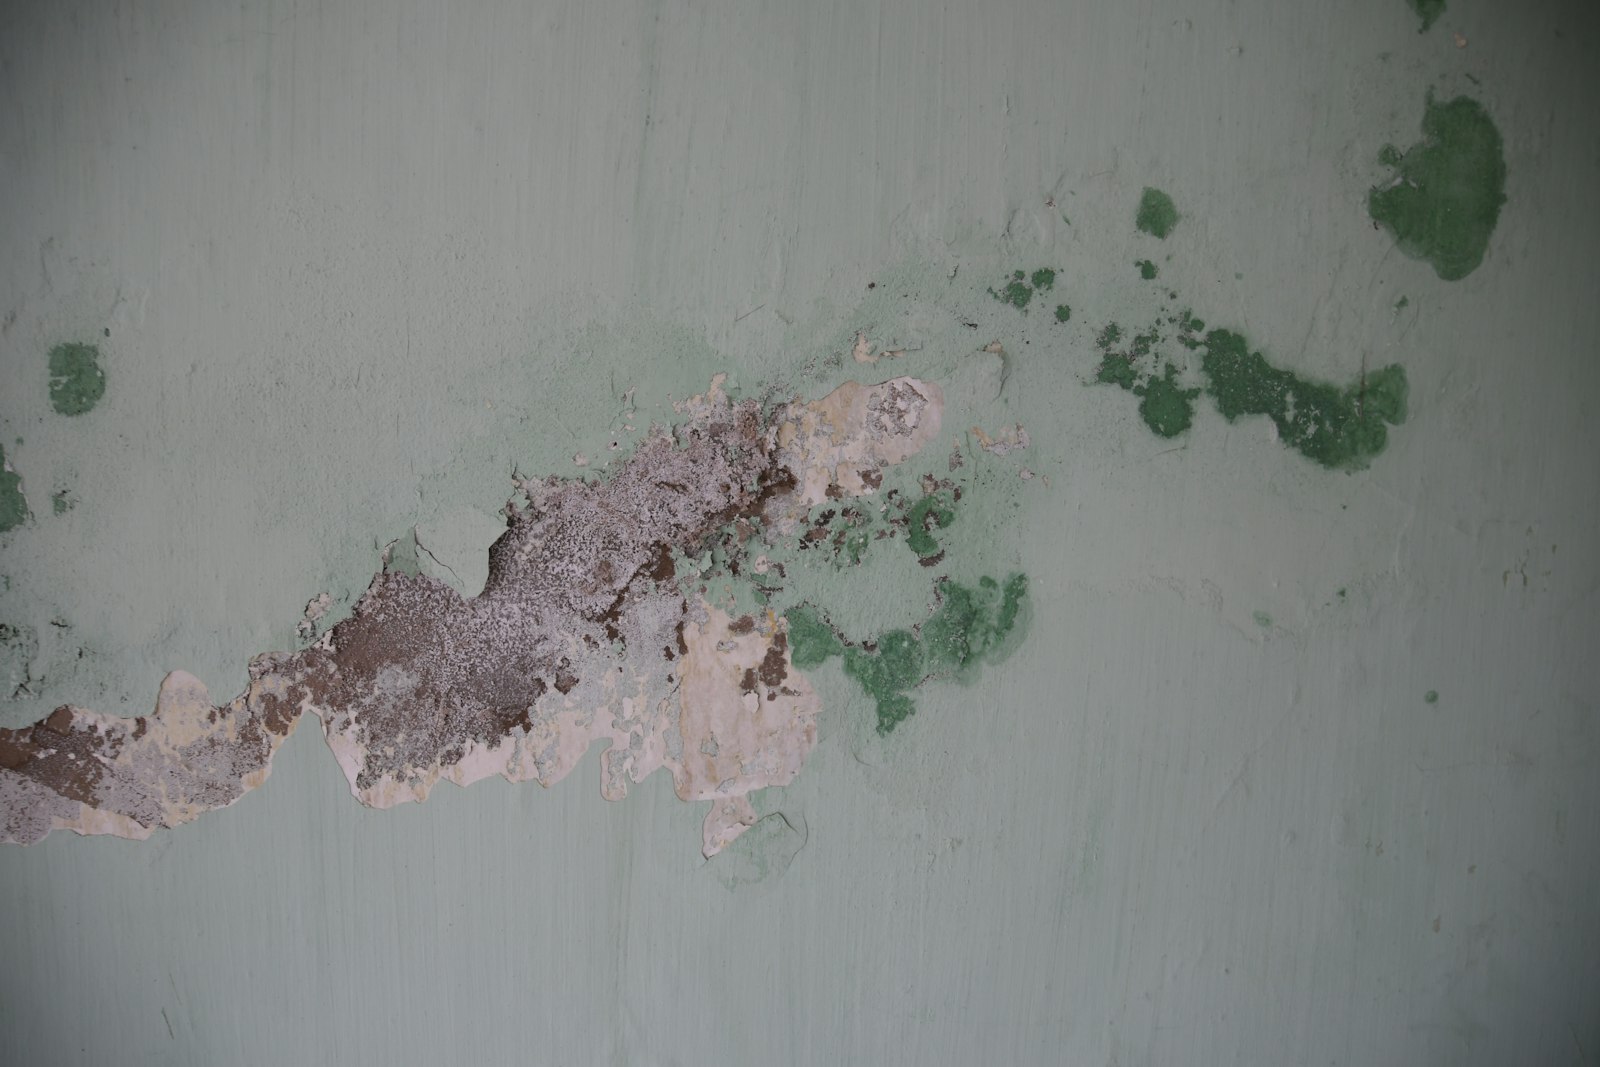
Water damage in a Laurel home rarely ends when the visible water is gone. The part most homeowners miss is what happens inside the walls, under the floor, and behind the baseboards in the days after. Mold needs only three things to start: moisture, a surface to grow on, and time. A wet Laurel basement, a slow leak behind a kitchen wall, or a damp crawlspace under a West Laurel home can supply all three at once.
This guide explains, in plain terms, how mold follows water damage in Laurel homes, where it hides, what you can safely do yourself, and when the job needs a professional. It is written for Laurel homeowners only, for the homes and housing types found in ZIP codes 20707, 20708, 20723, and 20724.
Why Laurel homes are prone to mold after water damage
Laurel sits in a humid part of Maryland, and summer storms can soak the ground around a home in a single afternoon. When the soil stays wet, water finds the lowest point, and in most Laurel homes that is the basement or the crawlspace. Finished basements are common here, and a finished basement hides moisture behind drywall and under flooring where you cannot see it. Our guide to finished basement flooding explains how to decide what to save and what to cut when a basement floods, and the same logic applies when mold is the worry: hidden wet material is the risk, not the puddle you can see.
Older homes in West Laurel often have crawlspaces with limited ventilation, and a small leak there can keep wood damp for weeks. Townhomes and condos in South Laurel and Russett share walls with a neighbor, so water from one unit can travel into the next before anyone notices a stain. Our townhome and condo guide covers how shared walls carry water between units. In every case the pattern is the same: the water you see is only part of the story, and the moisture you cannot see is what feeds mold.
The first 24 to 48 hours matter most
Mold does not wait for a convenient week. Under warm, damp conditions it can begin growing within 24 to 48 hours of materials getting wet. That window is the reason speed matters more than anything else after water damage. Drying is not about how the room looks. It is about getting moisture readings in walls, floors, and framing back to a dry standard, and keeping them there.
If you find water damage, your first steps are the same ones in our burst pipe first hour guide: stop the water at its source if you can do so safely, keep people and pets out of standing water, and start documenting with photos before anything is moved or thrown away. Do not wait for a stain to appear on the ceiling or a smell to develop. By the time you can smell mold, it has usually been growing for a while.
A practical check is simple. Touch the baseboards and the lower part of the walls in the affected area. If they feel cool and damp, or if paint is bubbling and peeling, moisture is still inside the material. A moisture meter gives a number instead of a guess, and our guide to how long structural drying takes explains why readings, not the calendar, decide when a home is dry.
Where mold hides in a Laurel home
Mold grows where moisture lingers and air does not move. In Laurel homes, the usual hiding places are:
- Behind drywall in a finished basement. Water wicks up from the floor into the bottom of the wall, and the paper facing on drywall is an easy food source. The front of the wall can look fine while the back is wet.
- Under flooring. Laminate, engineered wood, and carpet pad can trap water against the subfloor. Hardwood can cup and buckle, which is a sign that moisture is still underneath.
- Inside wall cavities around plumbing. A slow supply line leak or a loose dishwasher connection can wet the inside of a wall for weeks. Our appliance leaks guide covers washing machines, dishwashers, refrigerator lines, and water heaters, which are the most common indoor sources in Laurel.
- In the crawlspace. Older West Laurel homes with crawlspaces are vulnerable because a leak or a failed vapor barrier keeps joists and subfloor damp with little airflow.
- Around windows and exterior walls. Summer storms drive rain against window frames and siding, and water that gets behind the trim can stay there.
- In and around HVAC. A clogged condensate drain can drip water into a closet or utility area, and ductwork can carry musty air through the home.
If you notice a musty smell that does not go away, a stain that keeps coming back after cleaning, or paint and wallpaper that keep bubbling in the same spot, treat it as a sign of hidden moisture, not a cleaning problem. Our guide to the signs of hidden water damage lists the early warnings worth checking before mold becomes visible.
What to do first when you suspect mold
Stay calm and work in this order.
First, find and stop the water. A leak that is still running will defeat any cleaning or drying. Shut off the supply to the leaking fixture, or the main shutoff if you cannot find the fixture valve. If the water came from a burst pipe in winter, our winter freeze guide covers frozen pipes in Laurel and what to do when they thaw.
Second, protect yourself. Do not disturb a large area of visible mold, and do not dry sweep or vacuum it, because that can spread spores into the air. For a small area, gloves and a mask are sensible. If anyone in the home has breathing trouble or a health condition, keep them out of the affected area and ask a professional for advice. This guide is about the home, not medical advice, and health questions belong to a doctor.
Third, document everything. Photograph the water source, the wet materials, and any visible growth before you move or remove anything. Keep the photos with the drying records, because they help with insurance questions and with any permit questions later. Our county rules guide explains why your exact Laurel address decides which county rules apply, and the same records help there too.
Fourth, remove standing water and start airflow, but do not tear out walls on your own if the affected area is large. A small, clearly contained damp patch is different from a whole wall or a whole basement. When in doubt, get a professional moisture check before you start cutting.
What to save, what to cut, and what to clean
Not every wet material has to be thrown away, and not every stained surface is mold. Porous materials that stayed wet, such as drywall, carpet pad, and insulation, usually cannot be dried in place once mold has started in them. Hard surfaces such as tile, glass, and sealed concrete can usually be cleaned and dried. Wood framing can often be dried and saved if the moisture readings come down and the surface is cleaned properly.
For a finished basement, the save or cut decision is the same one in our finished basement flooding guide: cut drywall above the visible water line, remove wet insulation and pad, and keep drying until readings are stable. For sewage contamination the rules are stricter. Sewage water carries bacteria, and materials it touched are usually removed rather than cleaned. Our sewage backup cleanup guide covers that case in detail.
Cleaning a small area of mold on a hard surface is a homeowner job for many people: soap and water, thorough drying, and then watching the spot for a week to see if it returns. If it returns, moisture is still feeding it, and cleaning alone will not fix it. Cleaning a large area, mold inside a wall cavity, or mold in HVAC is not a homeowner job. That is when a professional with moisture meters, containment, and proper drying equipment should take over.
Drying, readings, and proof it is dry
Drying is the part that decides whether mold comes back. Air movers and dehumidifiers do the work, but the proof is in the numbers. Moisture readings in walls, floors, and framing should be taken at the start, during drying, and at the end, and they should be written down. A room that feels dry can still hold moisture inside a wall, and a room that smells fresh can still be damp behind the baseboard.
Our extraction guide explains how water removal works, and our drying timeline guide explains why different materials take different times to dry. The key point is simple: do not rebuild, repaint, or lay new flooring until the readings say the structure is dry. Covering damp material with new drywall or new flooring traps the moisture and gives mold a fresh start.
Keep every reading, photo, and receipt in one folder. If an insurance adjuster asks what happened, or if a county permit question comes up, those records are your answer. They also help you prove, to yourself, that the job was finished properly.
When to call a professional
Call for professional help when any of these are true:
- The affected area is larger than a small patch, roughly more than a few square feet of visible growth.
- Mold is inside a wall, under flooring, or in the crawlspace where you cannot reach it.
- The water came from sewage, or you are not sure where the water came from.
- The musty smell returns after cleaning and drying.
- Anyone in the home has a health condition that makes mold exposure a concern.
- You need documented moisture readings for insurance or for a permit.
A professional should inspect with a moisture meter, explain what is wet and what is not, and give you a written drying plan with readings, not just a verbal promise. If a company will not measure or will not write down readings, that is a reason to ask more questions before you agree to anything.
Preventing mold after the next leak
You cannot prevent every leak, but you can make the next one smaller and shorter.
- Check washing machine hoses, dishwasher connections, and refrigerator water lines twice a year, and replace a hose that is cracked, bulging, or older than you can remember.
- Keep the water heater area dry and watch for rust or a damp floor around its base. Our appliance leaks guide has a room by room checklist.
- Test the sump pump before storm season, and make sure the discharge line runs away from the house and is not clogged.
- Clean gutters and downspouts so water runs away from the foundation, not into it.
- In a finished basement, leave a small gap behind stored boxes so air can move along the walls, and do not push furniture tight against an exterior wall.
- After any leak, however small, dry the area fully and check it again a week later. A spot that is still damp after a week needs a closer look.
Laurel winters add one more risk. A pipe that freezes and then thaws can leak inside a wall for hours before anyone sees water. Our winter freeze guide explains where Laurel pipes freeze and what to check when they thaw.
The bottom line
Mold after water damage is a moisture problem first and a cleaning problem second. Find the water, stop it, dry the structure with readings to prove it, and remove the materials that cannot be saved. Do that within the first day or two and most Laurel homes come through without a lasting mold problem. Wait, paint over a stain, or cover damp drywall with new flooring, and the problem grows where you cannot see it.
If you are unsure whether what you are seeing is mold, or whether the structure is dry, get a moisture check. A reading costs less than a rebuild, and it gives you a clear answer instead of a guess.
Frequently asked questions
Mold can begin growing within 24 to 48 hours when materials stay wet and warm. That is why drying should start the same day the water is found, and why moisture readings matter more than how the room looks.
A musty smell that does not go away usually means hidden moisture, and often mold growing out of sight, behind drywall, under flooring, or in a crawlspace. It is a sign to check with a moisture meter, not just to air out the room.
A small area on a hard surface can usually be cleaned with soap and water, gloves, and a mask, followed by thorough drying. Do not dry sweep or vacuum mold, and do not disturb a large area. If the spot returns, moisture is still feeding it and a professional should look at it.
Wet drywall, carpet pad, and insulation that stayed damp usually cannot be dried in place once mold has started, and they are usually removed. Hard surfaces and wood framing can often be dried and saved when readings confirm they are dry. Our finished basement flooding guide explains the save or cut decision in detail.
Keep photos of the water source and the damage, moisture readings from start to finish, receipts for drying and repairs, and any notes about what was removed. Those records help with insurance questions and with county permit questions, and they prove the structure was dried properly.
Related Laurel guides
- Finished basement flooding
- Burst pipe first hour
- Appliance leaks
- Townhome and condo shared walls
- County rules
- Winter freeze
- Sewage backup cleanup
- Signs of hidden water damage
- How long structural drying takes
- How water extraction works
- What to do after water damage in Laurel
- Water damage restoration (service)
Use the service page below for the next step rather than relying on general guidance when water is active or spreading.